Web Set Tutorial 79
Author: Jean H and Ann Stalls
September 15, 2011
Supplies include:
2 masks that could be used for creating buttons.
Jean's Website is
HERE.
Image mapping is the process of turning part of an image into an active web link.
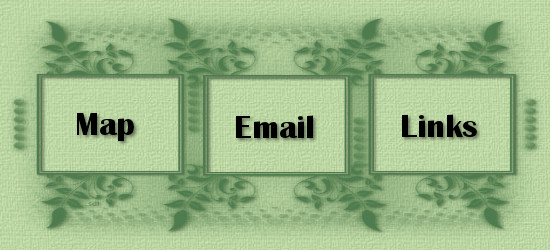
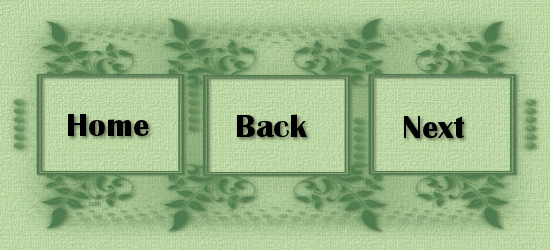
We will be using a mask to create our buttons for our mapping.
You can make two sets of this mask image.
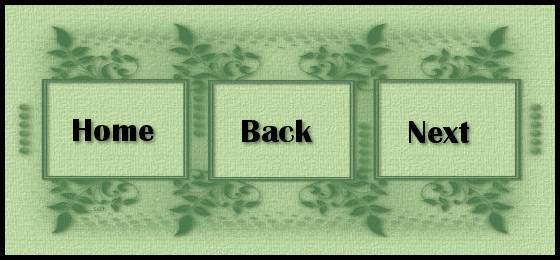
I made a header from the mask without mapping it.
Directions:
Name your files as you usually do for what code you are using.
You may use this code from Webset Tutorial 20 that I am using.
1. Select your image first.
2. Write the name of the buttons in each square.
Example:
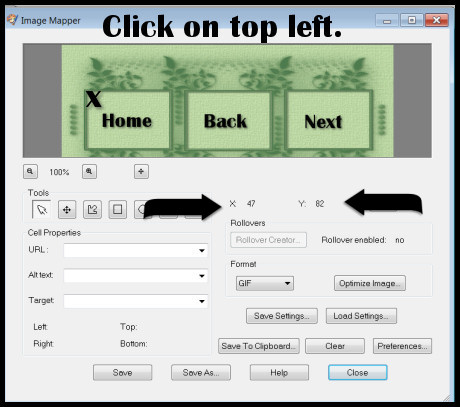
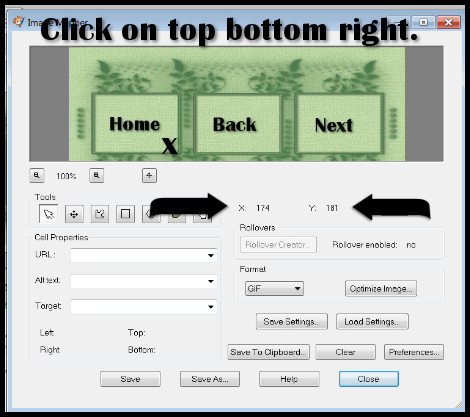
3. Determine your coordinates.
4. File>Export to>Image Mapper
5. Click on the inside the first square on the top left.
6. Write down the two cords, 47,82
7. Click on the first square on the bottom right.
8. Write down those two cords 174,181.
9. Your first set of cords would be this: 47,82,174,181.
10. Do the same for each square to form your cords then plug into code.
11. Name your first set of buttons top1 and size it 550 wide and 250 height.
12. Place it where you would have your first set of buttons.
13. Separate it with a divider or accent.
14. Add your links to each section.
15. Make a second set and use the same cords but change links and words.
16. Name your second set bottom1
Another example is
here
.
Designed by ©Ann Stalls for
Lady Ann Tutorials
2011 All Rights Reserved